


 82 / 87

June 2017
82
Find Us On Facebook at Boating On The Hudson
The first thing I do when there are
transom decay concerns I look across
the outside and inside of the transom
and look for indentations where
anything is thru bolted. When the
transom was new it was really solid and
bolts were tightened. In a soft transom
the bolts have indented themselves into
the transom. Next I use the handle end
of a screw driver and do the ole’ tap test
on the entire transom. I am looking for
a nice crisp solid ring tone indicating
solidness. If there is a thud sound it
means moisture and softness is present.
I continued to examine other parts of
the boat. I check stringers and engine
mounts. First I check to see if the engine
mount bolts are tight. If they spin, it’s
likely there is moisture and softness
present. The screw driver tap test can be
done along the stringers also. Stringers
can be built out of many different
materials e.g. wood/foam/composite.
The tap test will give an idea of what the
condition of the stringer is but the best
indicator would be to use a moisture
meter.
How is the transom repaired?
In the case of the Sea Ray, the first
step was to remove the engine, all the
hardware, hydraulic pumps, wires, trim
tabs, hydraulic lines, speedo lines, depth
finder, fish finder, etc.etc.
The bilge was cleaned, scrubbed, and
degreased. Every bit of oil removed.
Inside the transom the fiberglass “skin”
was strategically, carefully and surgically
removed using special equipment.
This cut out “skin” was used to make a
cardboard template. The rotted core material was removed using chisels, pry bars, flat
bars, hammer, vacuum, electric chain saw. I used whatever tool it took to clean out the
water soaked core material.
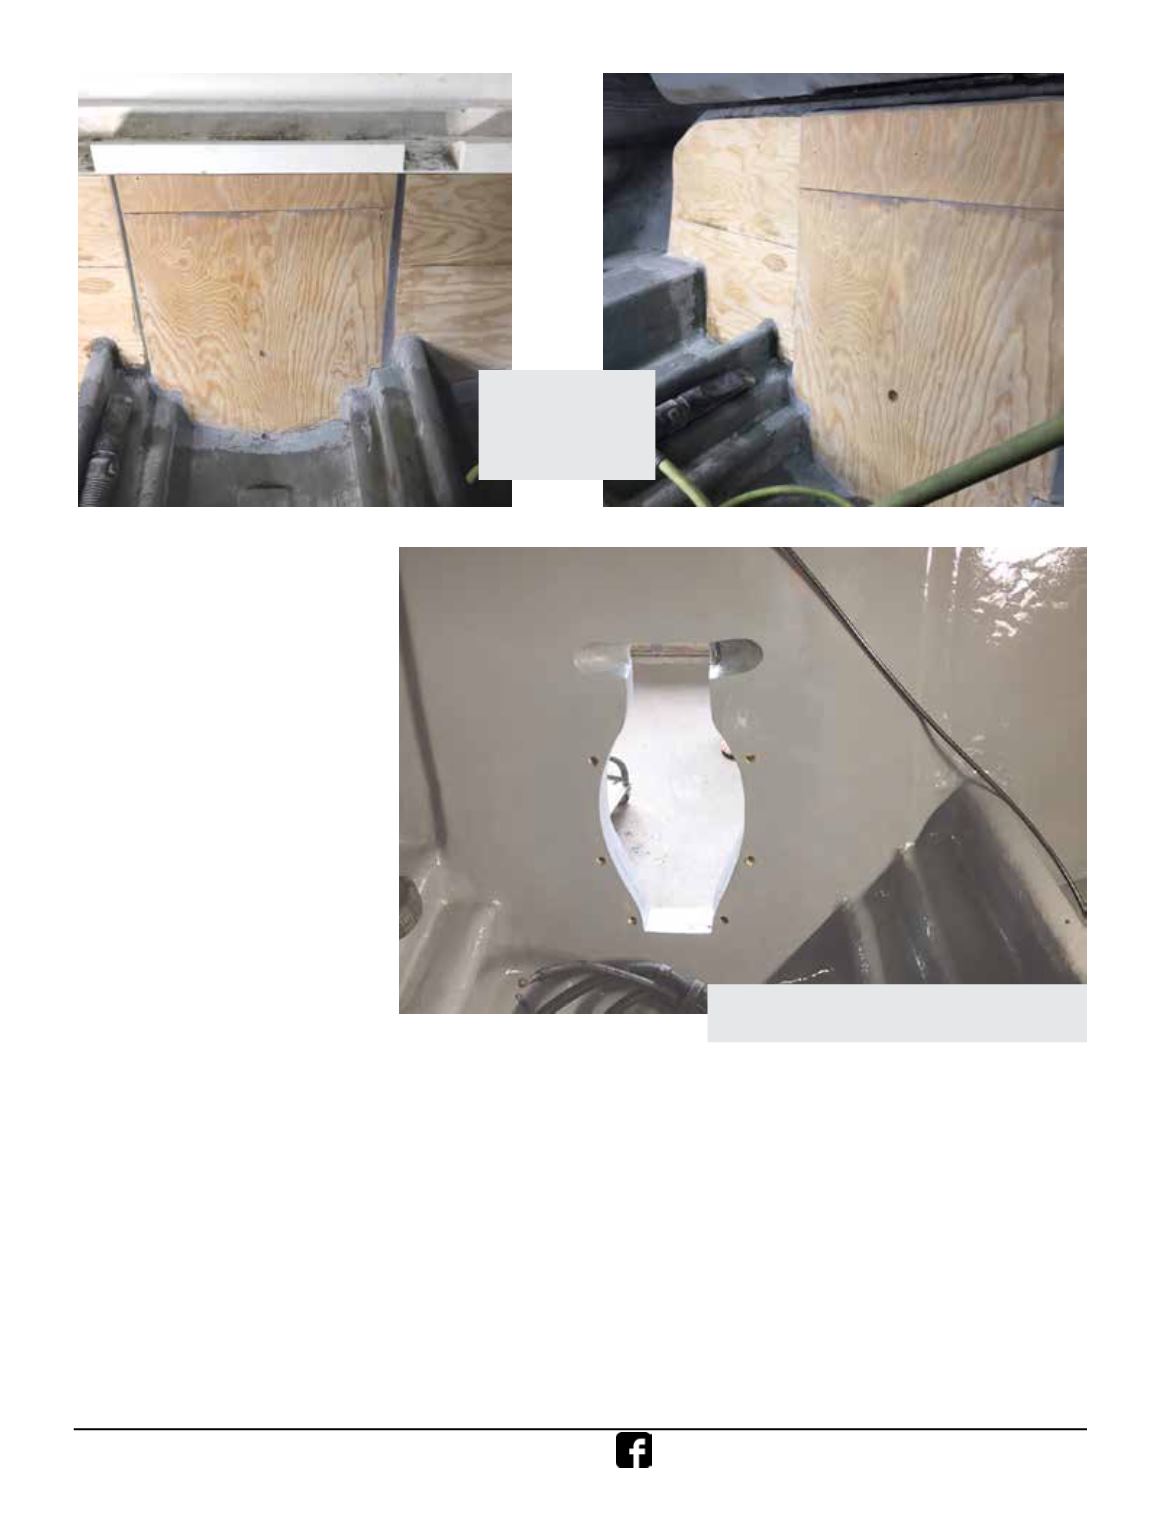
Next I ground out the area and sanded it flat. I used the cardboard template to cut
sheets of ¾” and ½”marine plywood. These were laminated together using vinyl ester
resin and fiberglass cloth. I had to achieve a thickness of 2-1/4” for the new transom.
This piece was inserted and secured. All the original holes including the large hole
for the outdrive were recut. The entire project was painted with bilge paint to finish.
Know what you are buying! The structural backbone of the boat is the stringers and
transom along with cross members. It needs to be solid and kept in good soundness
just like the foundation of your house needs to be strong. The boat may look beautiful
and sleek, run well but can have major hidden problems. If it needs floor, stringer and
or transom repairs it will be costly!
Have the boat inspected by someone who knows what they are looking at before
you make an expensive purchase.
New third and last
layer of plywood.
Ready for final
fiberglass covering.
Hole for intermediate housing hole cut out
and new bilge paint. Ready for assembly.